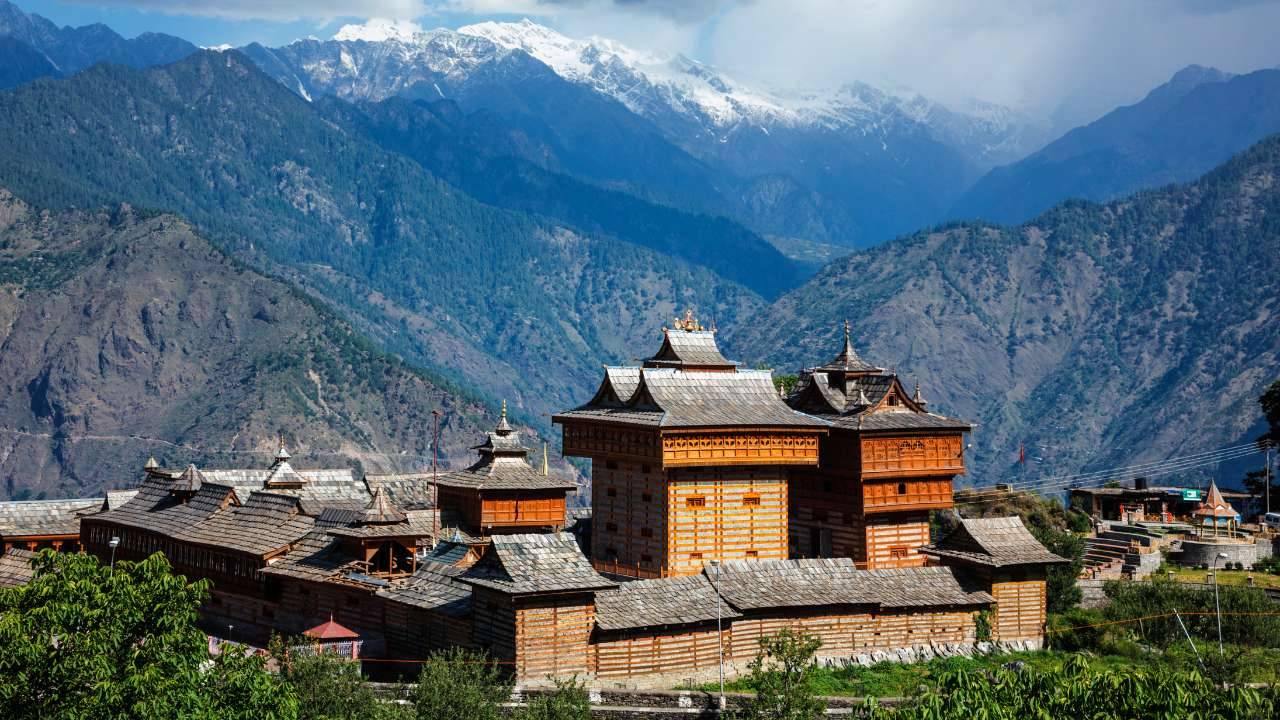
With their small size, tough design, and great video quality, action cameras are perfect for capturing the colourful and diverse beauty of India. Whether you’re hiking in the Himalayas, wandering through ancient temples in Rajasthan, or chilling on the beaches of Goa, action cameras can grab incredible shots and preserve amazing memories on your domestic tour in India.
However, to really get the most out of your action camera in India, a bit of smart planning goes a long way. Therefore, this guide, brought to you by your ultimate tour partner, mapunseen shares tips on making the most of your camera during a domestic trip. So you come back with footage that truly captures the heart of your adventure.
You Need to Plan and Prepare Before Capturing
Before packing your bags and throwing your action camera into them for your domestic tour in India, you need to plan carefully. Look into your destination and pinpoint the activities where your camera will really shine. Maybe it’s white-water rafting, zip-lining, or a thrilling wildlife safari; these adrenaline-packed moments are perfect for action shots.
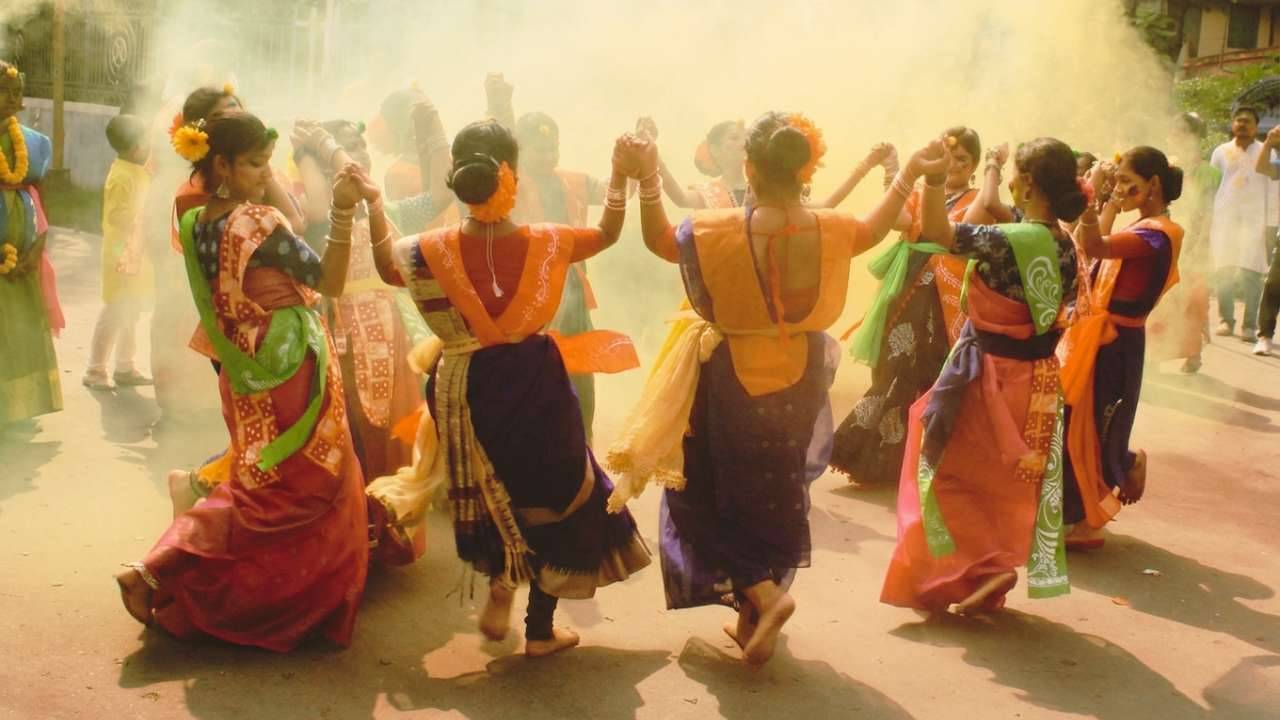
But don’t forget the slower scenes too, wandering through busy markets, joining in local festivals, or soaking in stunning views from a train or motorcycle ride. Having a clear idea of what you want to capture will help you choose the right accessories and mounting setups. Additionally, essential preparation includes checking battery life.
Remember, India’s vastness means you might go long periods without a charge, so carry multiple spares and a reliable power bank. Therefore, ensure you have high-capacity, fast memory cards, and update your camera’s firmware for optimal performance. Additionally, download the camera’s companion app; it’s crucial for framing shots remotely, transferring footage on the go, and often provides essential remote control functions.
Strategically Mount an Action Camera on Your Domestic Tour in India
The real strength of an action camera is its versatility in mounting options. While a chest or head mount gives an awesome first-person view, there’s no need to stop there. India is full of unique chances to capture unconventional and creative shots. The following ways are the best to capture breathtaking images on your domestic trip in India:
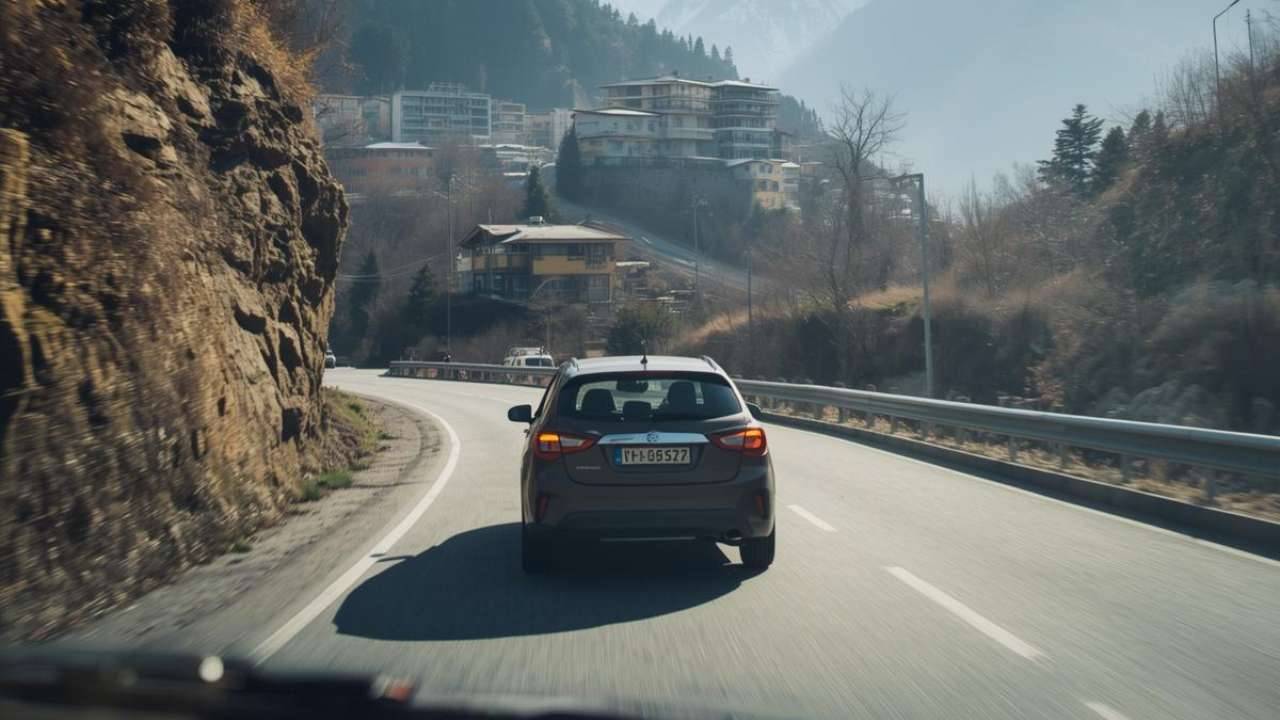
- Motorbike/Cycle Mounts: Capture the rush of weaving through Indian traffic or the calm beauty of peaceful rural roads. Mounting a camera on your handlebars or helmet offers an immersive point-of-view experience.
- Adhesive Mounts: These are great for attaching to vehicles like car dashboards or train windows, helmets, and even unique spots such as the hull of a boat in Kerala’s backwaters. Just make sure they’re secured well and positioned responsibly.
- Floating Grips/Selfie Sticks: Perfect for water adventures like snorkelling in the Andamans or rafting in Rishikesh, and great for capturing group moments or breathtaking views. Opt for extendable selfie sticks to get those wide-angle shots.
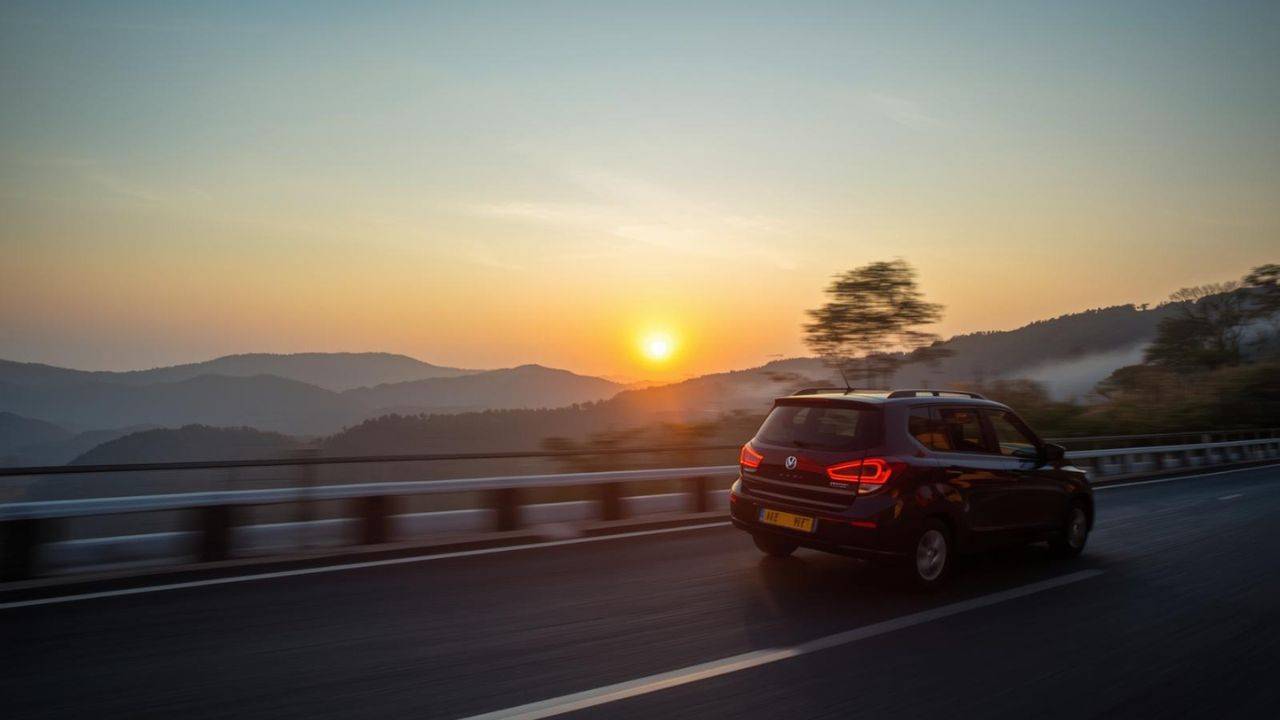
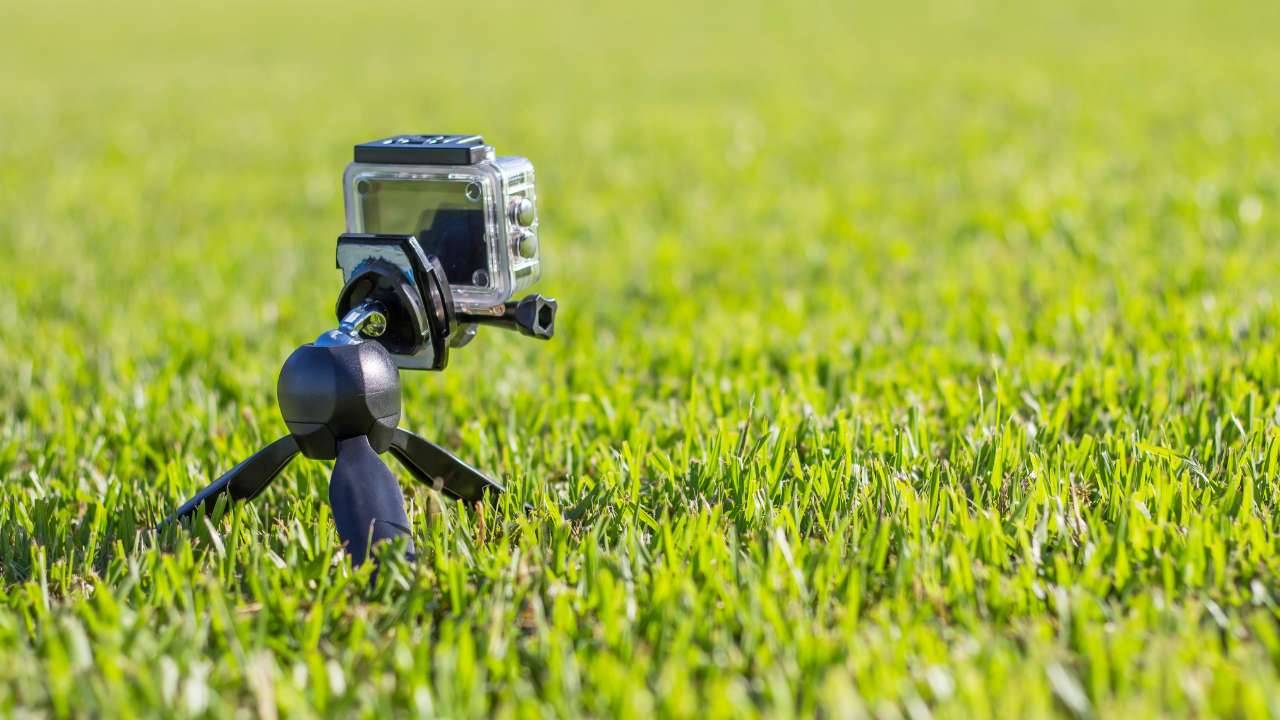
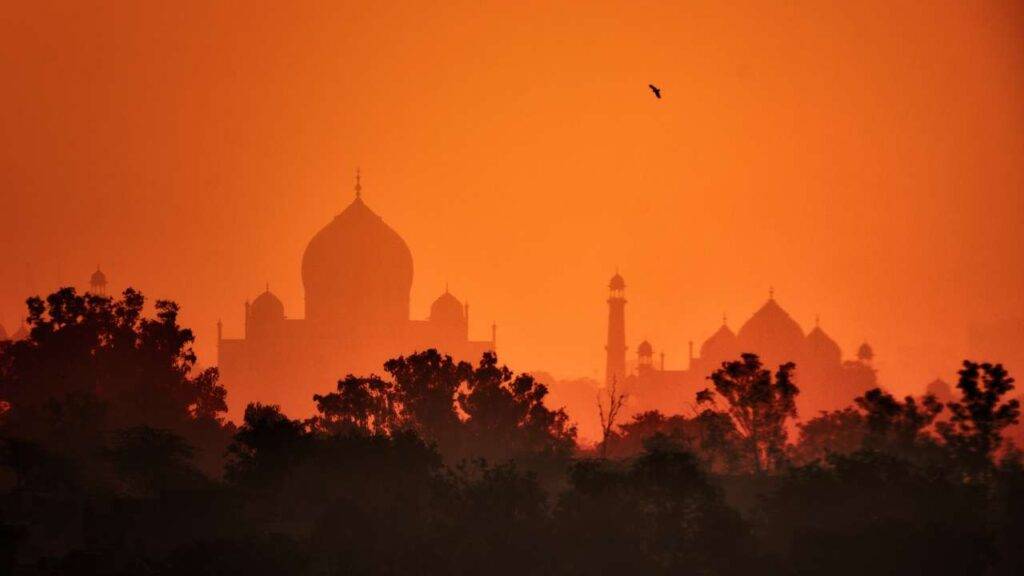
- The Power of the Tripod: While not exactly “action-oriented,” a small gorilla pod or compact tripod is essential for capturing time-lapse sequences, like a sunset over the Taj Mahal or lively city scenes, as well as steady landscape shots or crisp night footage.
Always stay aware of your surroundings and be respectful of local customs. Even though action cameras are usually small, certain places, but especially sensitive religious sites, may have rules against using them, particularly if they’re mounted noticeably.
Tailoring Your Camera Tuning to India’s Diverse Environments
Your domestic tour in India offers an incredible range of environments, from the intense mountain sun to the shadowy interiors of ancient monuments. Depending only on automatic settings can lead to average shots, so take charge and make the most of every scene.
- Resolution and Frame Rate: For most action-packed scenes like driving, trekking, or exploring markets, 4K at 60fps strikes a great balance between sharp quality and smooth playback. If you’re aiming for some serious slow-motion effects later, go for 1080p at 120fps (or higher, if available) to capture truly dramatic shots.
- Field of View (FOV): “Wide” or “SuperView” modes are great for capturing landscapes and immersive action, though they can warp horizons. Switch to “Linear” for scenic shots without the fisheye distortion.
- Voice Control: When your hands are tied up with hiking, riding, or navigating, voice control (if your model supports it) is a total game-changer, letting you start and stop recordings without fumbling for buttons.
- Stabilisation (HyperSmooth/RockSteady): Make sure this is switched on! It’s crucial for smoothing out the bumps and shakes in handheld or vehicle-mounted shots, especially on India’s often uneven roads.
- Colour Profile: If you’re planning to colour grade your footage, try shooting in a flat colour profile like Protune or D-Log. It might look a bit dull at first, but it preserves more dynamic range, making it easier to bring out the highlights and shadows during post-production.
Tell a Story of Your Domestic Tour in India Through the Action Camera
It’s easy to want to film every moment, but the best travel videos tell a story. Approach it like a filmmaker by swapping long, continuous shots for a variety of shorter, engaging clips. The first thing you should do is establish the scene. Begin with a wide shot to set the scene, such as capturing the approach to a temple or the sweeping view from a scenic lookout.
Make sure to capture every detail by getting close-ups of textures, faces, unique interactions, and food. These add richness to your narrative. Furthermore, to give the videos a personality. include B-Rolls. Capture atmospheric shots of the surroundings, like waves lapping on a beach, a train gliding by, and shadows dancing on a wall. These moments are key to creating smooth transitions in editing.
The next thing you should do is vary your angles when capturing a subject. Shoot from low angles at ground level, high angles using a tripod or handheld above a crowd, and switch perspectives often to keep the viewer engaged. On the other hand, be spontaneous yet intentional with your shots. You can’t plan every moment of travel, but you can seek out flashes of beauty, joy, or distinctive cultural expression and be ready to capture them succinctly.
Managing Your Footage and Post-Processing of the Captured Moments
The journey continues even after the camera stops rolling on your domestic tour in India, so handle your footage with care. Since internet connections in rural parts of India can be unreliable, making cloud backups tricky, it’s best to depend on physical backups. Transfer your files daily to your phone, tablet, or a portable SSD, and organise them in clearly labelled folders by location and date.
More importantly, when editing, keep in mind that less is often more. Aim to keep your final video short and sweet—around 3 to 5 minutes works best. Highlight the key moments, make sure transitions flow smoothly, and pick music that matches the mood and pace of your trip. With plenty of easy-to-use editing apps for both mobile and desktop, creating a polished travel video has never been simpler. Some action camera manufacturers also offer exclusive editing software that works best with the camera.
| Scenario | Ultra-Compact (e.g., DJI Action 2, GoPro Session style) | Standard (e.g., GoPro Hero 11/12 Black, DJI Osmo Action 4) | 360-Degree (e.g., Insta360 X3, GoPro Max) |
| Pros | Extreme portability, discreet, magnetic mounting | Excellent all-around quality, great stabilisation, robust ecosystem | Immersive capture, reframe later, invisible selfie stick |
| Cons | Shorter battery life, limited accessories, smaller sensor | Bulkier, less discreet | Complex editing, lower per-lens resolution (when reframed), stitching artifacts possible |
| Best For | Discreet street videography, complex mounting (e.g., on sunglasses), minimal packing | High-quality action sports, landscapes, vlogging, and general use | All-encompassing landscapes, unique perspectives (e.g., inside a car), immersive experiences |
| Use in India | Great for bustling markets (if used discreetly) and short hikes. | The versatile choice for most tours, from treks to safaris. | Perfect for capturing the sheer scale of Rajasthan forts or the vastness of Himalayan valleys. |
Conclusion
Taking an action camera along on your domestic tour in India is a great way to capture the country’s vibrant energy and stunning beauty. With a bit of planning, creative mounting ideas, a good handle on your camera settings, a focus on storytelling, and smart footage management, you can turn ordinary clips into a compelling visual journey. It’s not just about recording what you saw, but about sharing how you felt in the moment. Our country offers rich textures and lively experiences that deserve to be remembered as vividly as the day they happened. Remember, a thoughtfully used action camera makes that possible.
FAQs
- Is it safe to carry an action camera during street videography in busy Indian cities?
- Generally, it’s safe, but discretion is important. Secure your camera with a wrist strap, chest mount, or backpack strap mount to avoid theft or accidents. Try not to make it too obvious that you’re recording, especially in crowded places. Be mindful of privacy, and if someone looks uncomfortable, stop filming or move along. Use common sense and stay aware of your surroundings.
- How do I handle the bright sunlight and deep shadows in India when shooting?
- Knowing your settings is essential. In bright sunlight, use HDR video mode if available. For standard mode, opt for a flat colour profile (like Protune/D-Log) to retain detail in highlights and shadows for later editing. Avoid exposing just for highlights; exposing for mid-tones often provides the best balance.
- What about carrying and protecting the camera from dust and humidity in tropical India?
- Action cameras are durable, but dust and humidity can pose issues. Use a lens cover when not recording and store the camera in a padded, ventilated pouch in humid areas like Kerala or Goa. Include silica gel packs in your bag to absorb moisture, and always wipe the camera with a microfiber cloth after exposure to seawater or heavy dust.
- Are there specific drone regulations in India that apply to action camera drones (like the DJI Mini)?
- India has specific rules for flying drones. Micro-drones under 250g, like the DJI Mini series, must be registered with the DGCA in the “Nano” category. Pilots must avoid no-fly zones, including airports and sensitive sites like the Taj Mahal. It’s best to check the Digital Sky platform for the latest regulations before flying, as rules can change.